
Stainless Steel Sculpture Production Process
From the first drawing to final surface finishing, see the craft and engineering behind a custom sculpture.
Artistic intent, engineered for the real world.
Every curve, weld and transition matters. The right surface finish is selected to suit the sculpture’s design, location and intended visual effect.
For architects, artists and project owners, a sculpture must do more than look impressive in a rendering. It must be accurately shaped, structurally sound, practical to transport and ready for installation. Our process connects each of those decisions to the finished piece.
A complete process, from concept to installation-ready artwork
The exact techniques vary with scale, geometry and the selected finish. These ten stages show the typical route for a custom stainless steel sculpture, with a production image for each stage.
Confirm the design and create a 3D model
We start with your sketches, reference photographs, drawings or inspiration images. Together we confirm the sculpture’s shape, dimensions, viewing angles, intended location and preferred surface finish before fabrication begins.
Our team develops the approved concept into a 3D model so you can review its proportions and details from multiple angles. This model provides a clear reference for the full-scale foam model in the next stage and for the subsequent metalwork.

Build a 1:1 foam model of the sculpture
Using the approved 3D design, we produce a full-size foam model that shows the sculpture’s actual form and proportions. At this scale, the team can evaluate curves, transitions and details that are difficult to judge on a screen alone.
The foam model serves as a physical reference when planning and shaping the stainless steel panels. We review its silhouette and dimensions before moving into metal fabrication, making any necessary form adjustments at the model stage.

Choose stainless steel for its setting
Material choice responds to where the work will live, not just how it will look. Type 304 stainless steel is often appropriate for many inland settings; marine or chloride-exposed locations may call for type 316 or 316L. Sheet thickness and internal members are specified for the actual span and structural design.
We review material grade and finish direction with the client before production. Keeping the material choice consistent across visible panels and weld areas helps the final surface polish evenly.
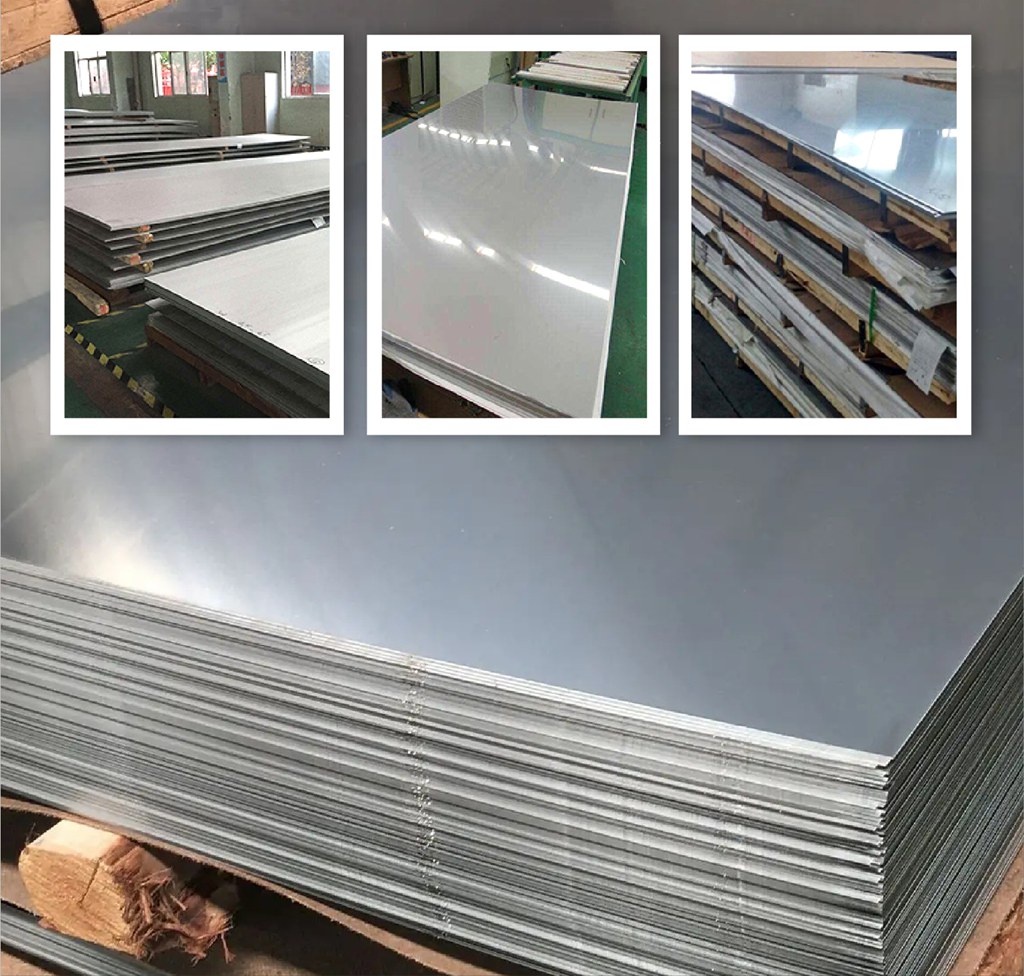
Translate the model into individual panels
We break the approved surface into buildable segments and create panel patterns. Components are marked and cut to their developed shapes using suitable sheet-cutting methods, such as laser or CNC cutting where appropriate to the geometry.
Accurate edges reduce gaps and rework during assembly. The orientation and sequence of each panel are tracked so the form can be rebuilt reliably from many separate pieces.
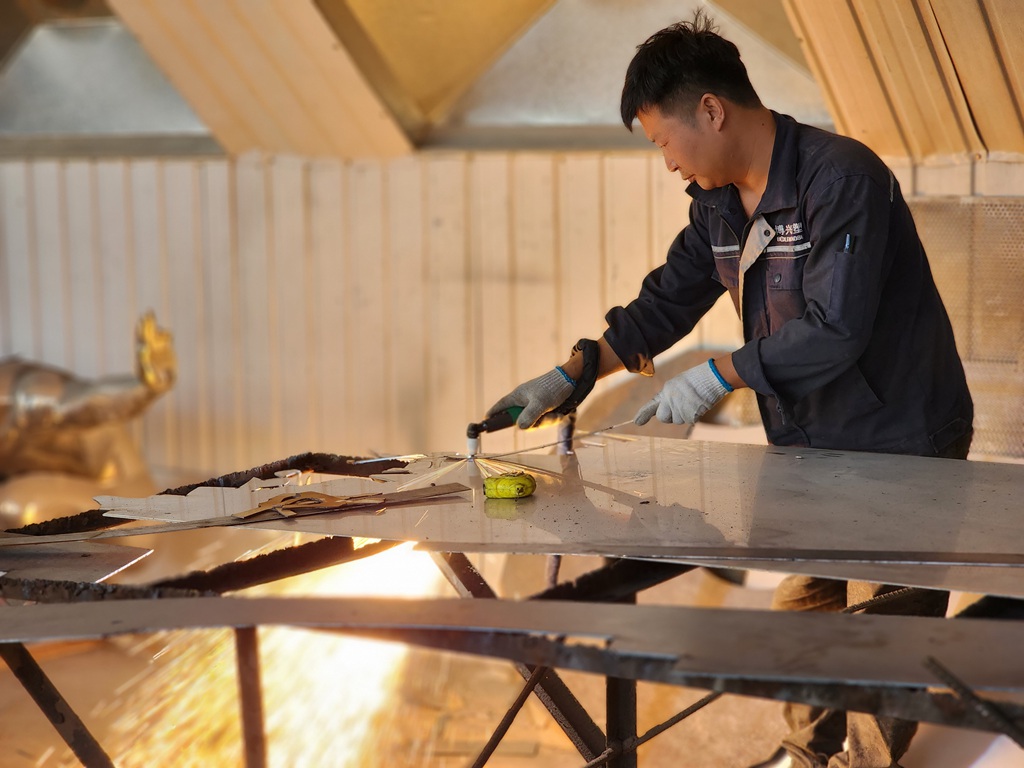
Forge the stainless steel panels into shape
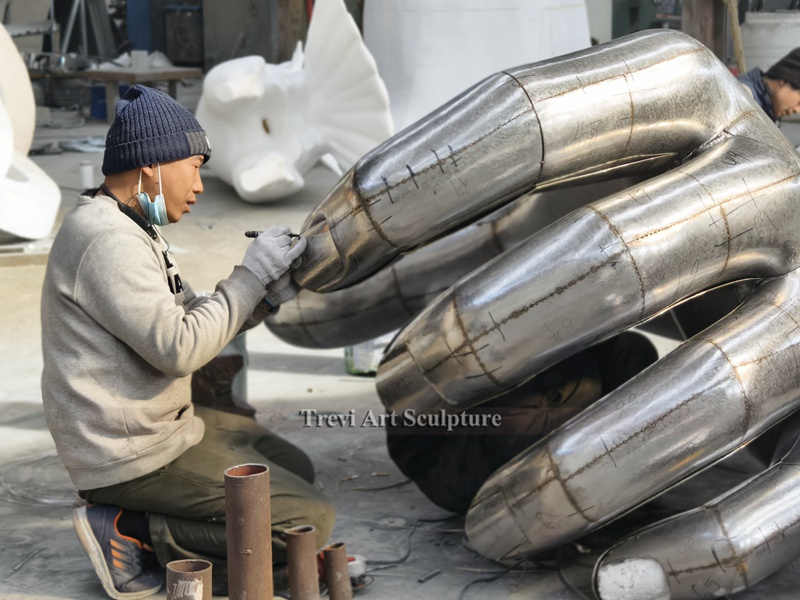
Our fabricators shape flat stainless steel sheets through controlled hammering and forming, using the full-scale foam model as a reference. The work develops the complex curves and three-dimensional surfaces that cutting alone cannot produce.
Each forged panel is checked against the model and adjoining sections. Repeated adjustments help create smooth, continuous contours before assembly and surface finishing.

Bring the sculpture together in sections
Fabricators build the internal support and position formed panels around it. Temporary fixtures hold the design while technicians check alignment, symmetry and the spacing of visible joints. Large pieces can be trial-assembled in manageable sections to verify the silhouette and planned on-site connections.
Any adjustment is easier to make now than after final welding. That is why the team checks the entire form, not just one panel at a time.
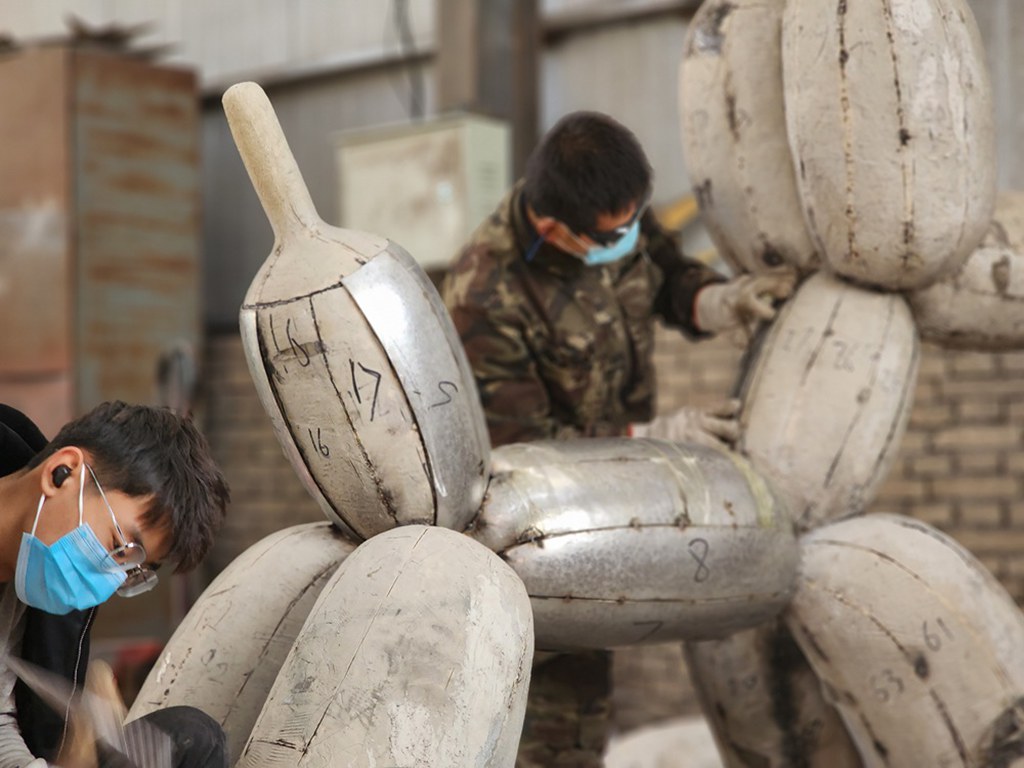
Build strength without leaving the seams visible
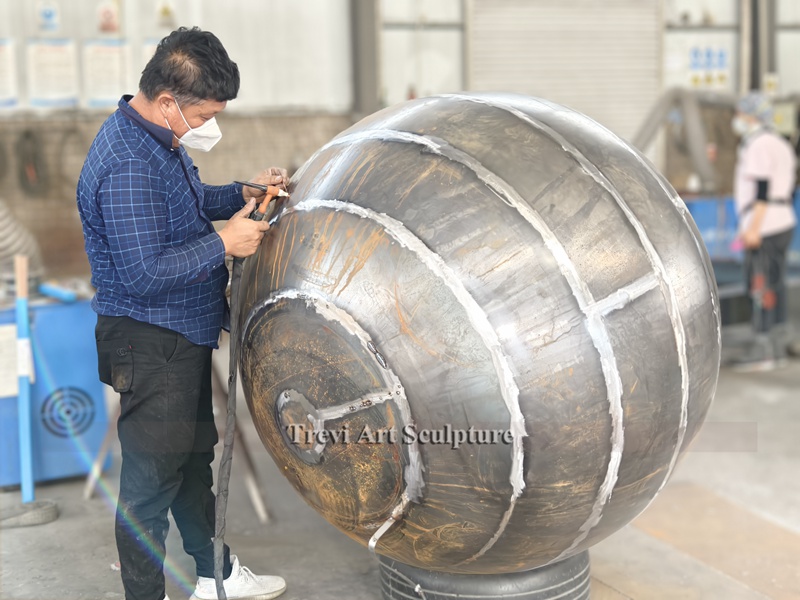
Once alignment is confirmed, welders join the steel skin and its structural elements using a process suited to the joint and section thickness. Clean preparation, controlled heat input and an appropriate welding sequence help limit distortion; TIG welding is often used where precise, visible-surface work is required.
The aim is a sound, continuous connection where specified, followed by careful blending. A mirror finish can only conceal a joint convincingly when both the weld and surrounding surface have been properly prepared.
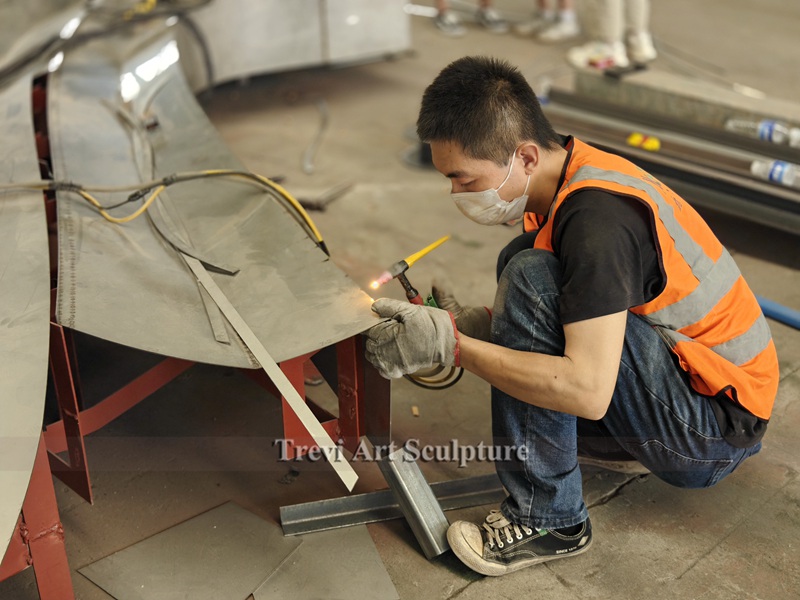
Refine the shape, not just the weld
Welds and heat-affected areas are ground back in measured passes. The team works from coarser to finer abrasives to level joins while preserving the intended curve. Hand finishing around tight transitions makes the difference between a smooth-looking photograph and a surface that stands up to close inspection.
We inspect under changing light as we work: raised seams, shallow dips and directional scratch marks all become more apparent at the mirror stage.
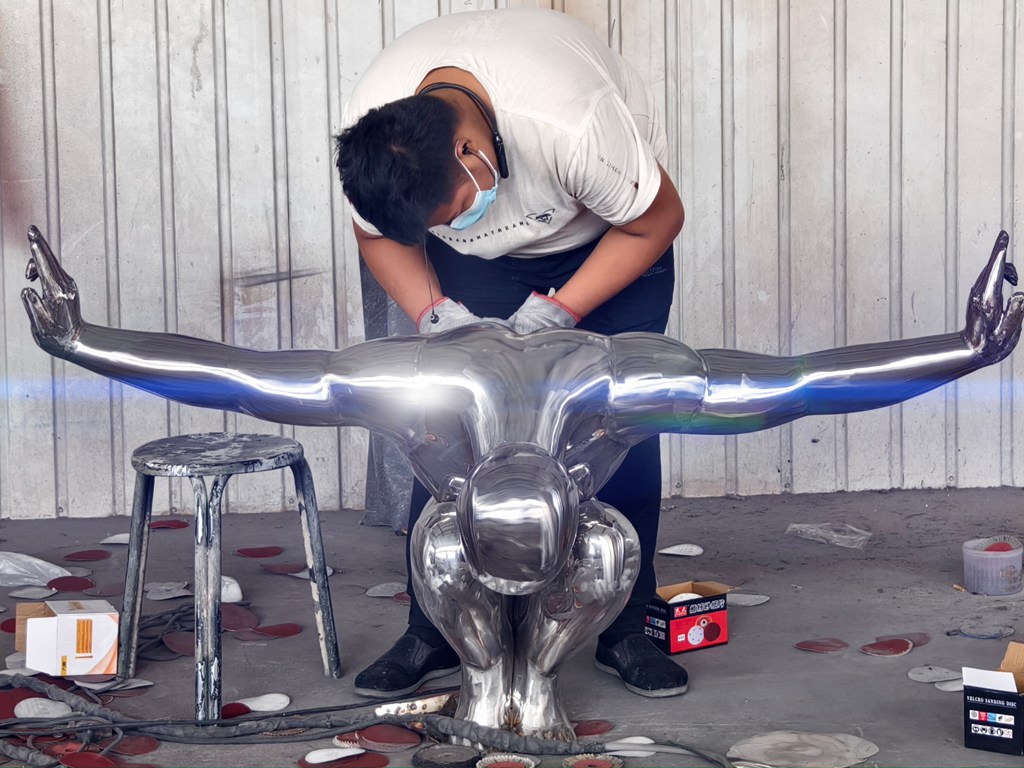
Choose the right finish for the sculpture
The final surface treatment is selected to suit the design and setting. Options include a mirror-polished finish for crisp reflections, a brushed or satin finish for a softer texture, or a matte finish for a more understated appearance. Where the design calls for color, a suitable painted finish can also be considered.
Each choice requires its own preparation and finishing sequence. Mirror polishing, shown in the photograph, uses progressively finer abrasives and final buffing; brushed finishes require a consistent grain direction, while other finishes are evaluated against the material and installation environment.
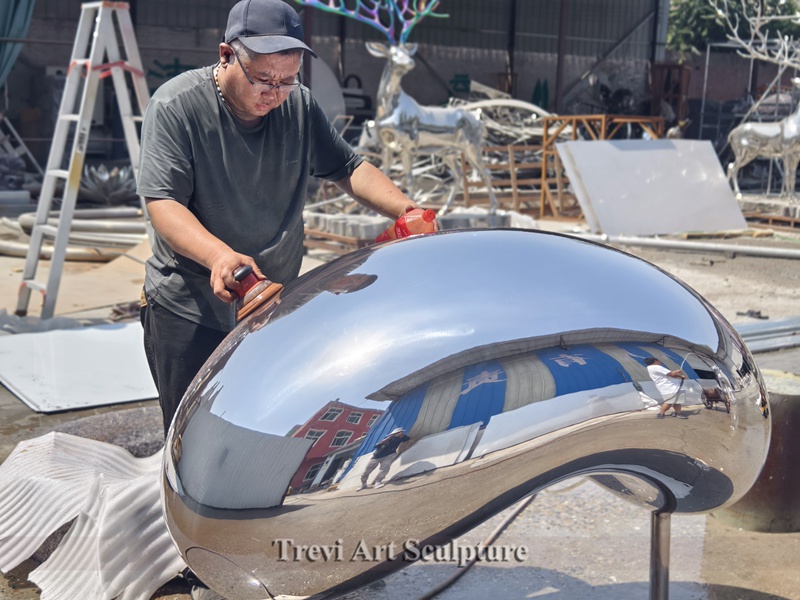
Inspect, protect and prepare to install
Before dispatch, we review dimensions, overall shape, weld and finish quality, base and connection details, and the way sections meet. Large sculptures may be trial-fitted so any final adjustments happen in the workshop, not at the destination.
The polished surface is cleaned and protected for handling. Transport sections, lift requirements and installation information are coordinated with the project team; on-site engineering and installation remain subject to the approved local plan.
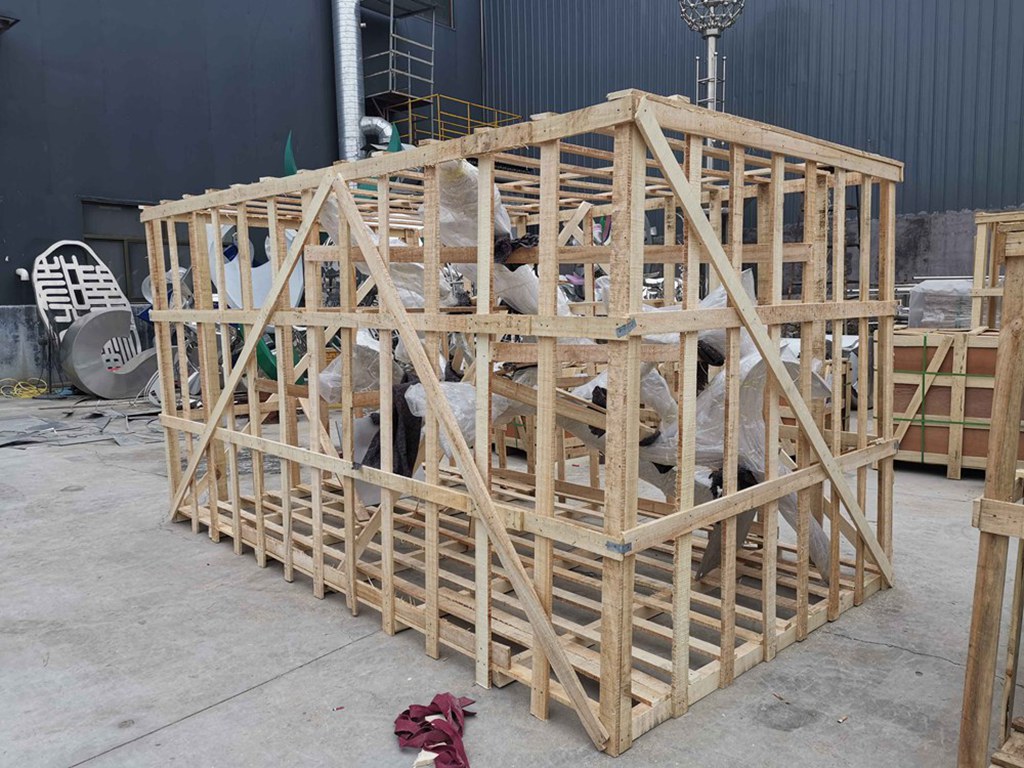
Real work at every stage of the build
These workshop photographs show the fabrication disciplines behind large custom metal sculptures: precision welding, sectional assembly, surface shaping and hand finishing.

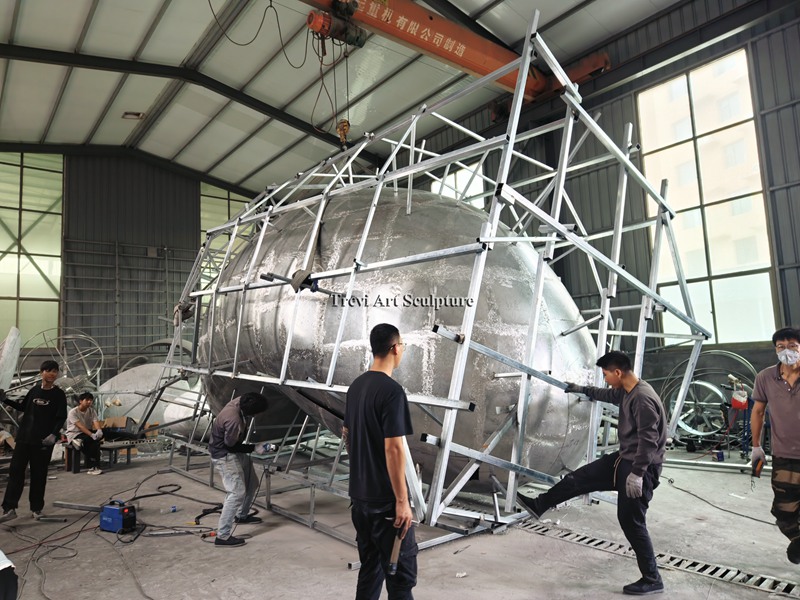
Have a finish sample, technical drawing or installation specification to review? Share it when you contact us so the discussion can start with the details that matter to your project.
Let’s turn your concept into a sculpture that is ready for the site.
Send your reference image or drawing, desired dimensions, location and preferred finish. We can discuss the fabrication route and the information needed for a considered quotation.